Setup & Safe Storage · Guide
How to bolt down a gun safe on concrete, wood or carpet
An unanchored safe can be tipped onto its back and pried, or tip onto a person. Here is how anchoring works on each floor type, drawn from the makers' own instructions.
By Mike M.Updated Researched, not lab-tested
#adReader-supported: we may earn a commission if you buy through our links, at no extra cost to you. It never decides a ranking. How we rate · Disclosure
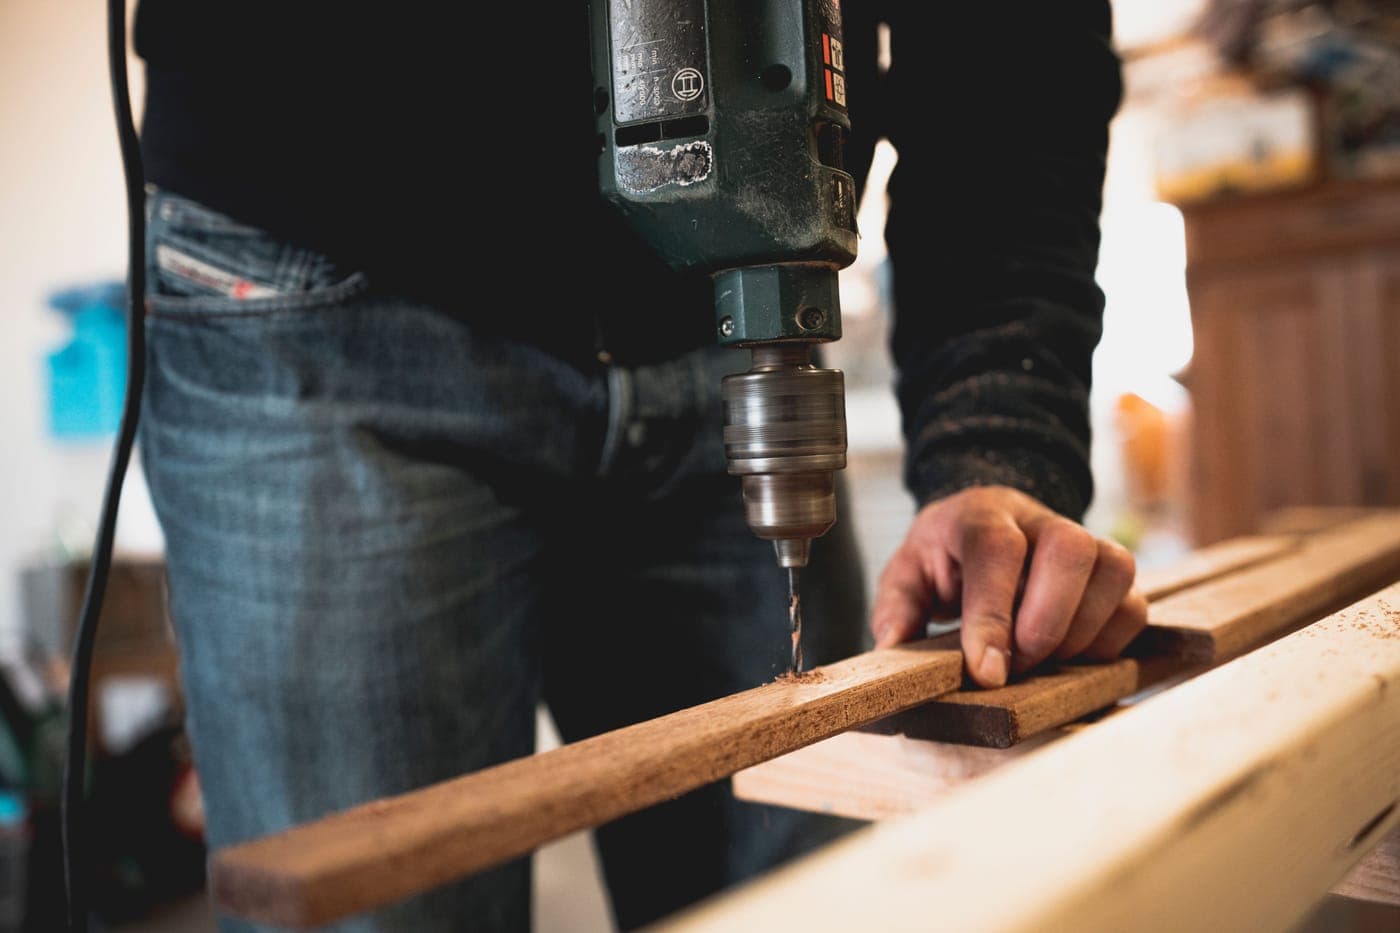
A gun safe that isn't bolted to the floor is only doing part of its job. The steel and the lock are built to resist an attack on the door while the safe stands upright. Anchoring is what keeps it upright: against a burglar who wants it on its back, and against its own heavy door swinging open near a child. This guide covers the three floors most owners deal with (concrete, a wood subfloor, and carpet or tile over either), using the anchoring instructions safe makers publish. Your own safe's manual always wins where it differs.
Why a gun safe has to be anchored
There are two reasons, and the second one matters most in a home with children.
It takes away the easy attack. Liberty Safe's anchoring guide explains that burglars often try to tip a safe onto its back, which gives them far more leverage to pry the door, and that a thief who can't open it on site may try to take the whole safe somewhere with more time and tools. Bolting it down removes both options.
It stops the safe tipping onto someone. The same Liberty guide notes that the door is a safe's heaviest component, so swinging it open shifts the center of gravity forward. On a top-heavy or unanchored safe, that shift can be enough to tip it, and Liberty calls out the injury risk to children in particular.
The standards world treats mounting as part of the security, too. Under UL's revised Residential Security Container standard, products weighing 750 pounds or less must pass a drop test unless they are reliably mounted using the manufacturer's installation provisions. If you want to know what that listing does and doesn't cover, see our UL RSC rating explainer. And at least one maker ties its warranty to anchoring: Steelwater's lifetime burglary coverage on the Heavy Duty 20 requires the safe to be properly anchored to the floor.
Before you drill: know what's under the floor
The finished surface you see (carpet, hardwood, vinyl, laminate or tile) is not what holds the bolts. Liberty's floor-by-floor anchoring page makes the key point: how a safe is anchored depends on the subfloor. If the room sits over a basement or a crawlspace, the subfloor is generally plywood on joists. If it sits on the ground, or the safe is going in the basement, you will likely need concrete anchors.
Before anyone picks up a drill, work through this list:
- Read your safe's manual. It names the hole size, the anchor size and sometimes the hardware. Makers sell and specify different hardware, and their instructions are the ones that count.
- Check what's beneath the spot. Liberty tells owners to check for pipes and wiring before drilling, and its relocation guide adds radiant floor heating to that list.
- Confirm the floor can carry the weight. A full-size safe on an upper, wood-framed floor is a separate question from anchoring. Our guide to whether your floor can support a gun safe covers it.
- Choose the final spot first. Once the bolts are in, moving the safe means pulling them. Our guide to where to put a gun safe weighs garages, closets and basements.
- Renting? Drilling into a floor is a lease question. Get the landlord's permission in writing before you drill.
Anchor types by floor
Liberty's anchoring guide groups the hardware into three types. Using the wrong one for the floor, it warns, compromises the installation.
| Floor (what's under it) | Hardware | How it holds | Tool |
|---|---|---|---|
| Concrete slab or basement floor | Wedge anchor | A threaded bolt with an expanding clip at the bottom; Liberty says it offers very high pull-out strength in solid concrete | Hammer drill and masonry bit |
| Concrete or other masonry | Sleeve anchor | An expanding sleeve tightens against the bolt and the concrete as the nut is turned | Hammer drill and masonry bit |
| Wood subfloor on joists | Heavy-duty lag bolts with washers | Bite into the joists or subflooring; Liberty says always use a washer to spread the load | Power drill for pilot holes, socket wrench |
| Tile over any subfloor | None into the tile | Liberty advises against anchoring through tile; see the tile section below | n/a |
Bolting a safe to concrete
Concrete is the floor makers write their instructions for. Winchester Safes' bolt-down instructions are for concrete only, and they line up with Liberty's and Hornady's published steps. Condensed, the sequence is:
- Place the safe and level it. Winchester's first step is to set the safe where it will live and level it, using shims if needed. Hornady's anchoring kit includes polymer leveling shims for this reason.
- Expose the anchor holes. Open the door and lift the floor panel or pull the plastic caps covering the pre-drilled holes in the safe's floor.
- Drill with a hammer drill. Every maker source we read calls for a hammer drill and a masonry bit sized to the anchor. Liberty notes that if the safe is too small to fit a drill inside, you can mark the hole locations, move the safe aside and drill.
- Drill deep enough, then clean the holes. Liberty says to drill slightly deeper than the anchor bolt's length to leave room for dust, then clear the holes with a vacuum or compressed air so the anchors set properly. The retailer listing for Hornady's kit says to drill each hole at least 3 inches deep for its 3/8-inch anchors.
- Set the anchors. With the safe back over the holes, drop the anchors through the safe's floor, tap them in with a hammer, then tighten the nuts with a socket wrench. Tightening expands the anchor and locks it into the concrete, as Hornady's kit page also describes.
- Close it up. Replace the caps or floor panel.
Bolting a safe to a wood subfloor
Wood-framed floors hold anchors differently: the bolts need to bite into structure, not just into a sheet of plywood. Liberty's guide lists a power drill, a wood bit, a socket set and heavy-duty lag bolts with washers, and sells a separate anchoring kit for wooden subfloors. The steps:
- Find the joists. Where you can, position the safe so its anchor holes land over joists. Liberty's instruction is to drive the lag bolts into the floor joists for maximum stability if possible.
- Drill pilot holes. Drill through the safe's holes (or marked locations) into the subfloor and joist. Winchester's page also calls for pre-drilled pilot holes in wood floors.
- Drive the lag bolts with washers. Put a washer on each bolt and drive it with a socket wrench until snug in the joist.
- Replace the floor panel and caps.
Note what Winchester says about wood and carpet: its step-by-step instructions are for concrete only, and the company assumes no liability for damage when a safe is anchored to a carpet or wood floor. That is not a reason to skip anchoring on wood. It is a reason to follow your own maker's wood-floor hardware and, if the holes don't line up with joists, to ask the maker or a professional installer how to proceed rather than improvise.
Carpet, tile and finished floors
Carpet
Carpet over a wood subfloor is treated as a wood floor. Liberty lists hardwood, carpeting, vinyl, linoleum and laminate over a wood subfloor as jobs for its wood-subfloor kit. Winchester's one practical carpet tip: cut a small hole in the carpet at each anchor point so the drill bit doesn't catch and pull the fibers. Carpet over concrete takes concrete anchors, with the same small cut first.
Tile
Liberty says you can set a safe on tile as long as the weight is evenly distributed, but not bolt through it: tightening the bolts puts enough pressure on the tile to crack it. Its recommended fix is to remove the tiles in the safe's footprint, anchor directly to the concrete subfloor beneath, and seal the gap around the base.
Walls
Large freestanding gun safes go to the floor, not the wall. Liberty's guide says wall anchoring is not recommended for them: floor anchoring resists tipping and prying better, and anchoring through a wall can penetrate the safe's fireboard and compromise its fire rating.
Mistakes that undo the job
- Drilling new holes in the safe. Liberty says anchoring does not void its warranty, but drilling holes the manufacturer didn't provide could. Use the factory holes.
- Skipping the level. Winchester's and Liberty's instructions both start with leveling the safe on shims. Liberty's relocation guide says a properly leveled and anchored safe should be stable with no wobble, and its door should swing and latch correctly.
- Guessing the bit size. See the callout above: measure, then match the anchor maker's instructions.
- Drilling blind. Pipes, wiring and radiant heat tubing sit under floors. Check first.
- Dirty holes in concrete. Dust left in the hole keeps the anchor from setting fully. Liberty tells owners to vacuum or blow the holes clear.
- Bolting through tile or into a wall. Both are on Liberty's list of things not to do with a large safe.
- Using the handle as a lever while positioning. Liberty's moving advice warns never to apply significant force to a safe's handle or dial. Position the safe with the right equipment.
- Leaving it for later. A safe waiting to be anchored is a tip hazard every time the door opens.
What makes a safe easy to anchor
If you are still shopping, anchoring is worth checking on the spec sheet, because makers handle it very differently. The features that make the job straightforward:
- Pre-drilled anchor holes in the floor of the safe. Every full-size gun safe we cover lists some bolt-down provision; confirm the hole count and diameter before you buy anchors.
- Hardware in the box. Some makers include anchors; others, such as Hollon on its Republic series, state that mounting hardware is not included.
- Reinforced anchor holes. Steelwater reinforces its anchor holes with 1/4-inch steel plate.
- Published instructions. A maker that publishes its bolt-down steps, as Winchester does, makes it easy to know you did it the way the warranty expects.
Anchoring doesn't replace a rating, so start with the burglary evidence. Our best gun safes ranking puts UL-listed models first, and our picks for apartments cover lighter safes for renters and upper floors. From those lists, these are the anchor-friendly options.
Our picks for this
Safes that are straightforward to anchor, and a kit for concrete
Chosen for anchoring features on the maker's own spec sheet: pre-drilled holes, included or reinforced hardware, or published bolt-down steps. The kit is for concrete floors and 3/8-inch anchor holes only.
 Stock photo
Best overall: a UL RSC with room for a collection
Stealth UL28
UL RSC7.5/10Maker-stated UL RSC listing, 4 pre-drilled bolt-down holes and hardware included, so the listed safe can be anchored the day it arrives.
Check price · Amazon#ad · Price set by Amazon · Disclosure for the link to Stealth UL28
- Stock photo
Best for honest long-gun capacity
Steelwater Heavy Duty 20 (SW592818)
Access box5.5/10Anchor holes reinforced with 1/4 in plate, and its burglary warranty requires anchoring. Its page lists two hole sizes, so measure before buying anchors.
Check price · Amazon#ad · Price set by Amazon · Disclosure for the link to Steelwater Heavy Duty 20 (SW592818)
- Stock photo
Best compact safe with a backup key
Winchester Bandit 14
Access box4.8/10Pre-drilled for floor anchoring, and Winchester publishes step-by-step concrete bolt-down instructions for its safes. The maker states no UL burglary listing.
Check price · Amazon#ad · Price set by Amazon · Disclosure for the link to Winchester Bandit 14
 Stock photo
Best bolt-down kit for concrete floors
Hornady Premium Safe Anchoring Kit 95851
Accessory6.7/10Four 3/8 in concrete anchors plus the matching carbide bit, deep socket and leveling shims. Concrete only; needs a hammer drill.
Check price · Amazon#ad · Price set by Amazon · Disclosure for the link to Hornady Premium Safe Anchoring Kit 95851
Gun cabinets and small safes
Lightweight steel gun cabinets need anchoring even more than heavy safes, because nothing about their weight keeps them upright or in place. Homak's owner's manual for its First Watch cabinets is explicit that the cabinet is not designed to be used without securing it to a wall or other surface, and that it may tip over. SecureIt pre-drills its Agile Model 52 on the bottom and both sides for floor or wall mounting, and warns that an unanchored, empty cabinet can tip when the door opens. For cabinets, follow the maker's wall-stud or floor instructions exactly.
Quick-access handgun safes are the other exception. Many ship with a steel security cable as well as mounting holes. A cable deters a grab-and-go theft; bolting to a floor, shelf or furniture frame is stronger where the maker provides for it.
When to hire an installer
Liberty's anchoring page ends with a straightforward recommendation: unless you have experience moving and installing gun safes, the job is best left to a professional, and Liberty dealer installation includes bolting its safes down from the inside. Hire one if any of these apply:
- The safe has to be moved into position first (see our guide to moving a gun safe).
- You don't own a hammer drill, or you're not sure what's under the floor.
- The anchor holes don't line up with joists on a wood floor.
- The floor is tile, has radiant heat, or is an upper story you haven't confirmed can carry the weight.
However it gets done, check the result the way Liberty's relocation guide suggests: the door should swing and latch correctly, the lock should work smoothly, and a leveled, anchored safe should not wobble.
How we scored this
Safes we claim to have lab-tested: 0
Plenty of sites say they drilled, burned and flooded every safe they list. We didn't, and we say so. What we do instead: check whether an independent lab listed the safe (UL for burglary under UL 1037, UL or Intertek for fire), read the maker's published steel, lock and bolt-down specs, search CPSC recalls, and score every pick on a public rubric. Every figure links to where it came from.
Scores are editorial judgments from that documented research, not lab results. Commissions never set a score or decide a pick. The rubric and its weights are published.
Questions
Frequently asked
Do gun safes need to be bolted down?
Can you bolt a gun safe to a wood floor?
How do you bolt down a gun safe on carpet?
Does bolting down a gun safe void the warranty?
Can I bolt a gun safe to the wall instead of the floor?
How do you secure a gun safe in an apartment?
Keep reading
Related on Bolt & Vault
- Can your floor support a gun safe?Check the floor before you anchor, especially upstairs.
- Where to put a gun safeGarage, closet or basement: pick the spot before the bolts go in.
- Best gun safes for apartmentsLighter safes for renters and upper floors.
- UL RSC rating explainedWhat the burglary listing covers, including mounting.
- How to move a gun safeGetting it into position safely comes first.
Receipts
Sources
- Liberty Safe — Anchoring Your Gun Safe to the Floor (checked 2026-09-19)
- Liberty Safe — Preventing Safe Tipping: Best Practices for Anchoring Gun Safes (checked 2026-09-19)
- Winchester Safes — Bolt Down Instructions (checked 2026-09-19)
- UL — Residential Security Container Standard Revised (checked 2026-09-19)
- Hornady — Premium Safe Anchoring Kit (Item #95851) product page (checked 2026-09-19)
- Liberty Safe — Safe Relocation 101: Tips for Moving Your Liberty Safe Safely (checked 2026-09-19)
- Liberty Safe — Tips for Moving a Gun Safe on Your Own (checked 2026-09-19)
- Homak — First Watch steel security cabinet owner's manual (PDF, checked 2026-09-19)
We don't lab-test safes and we don't pretend to. Ratings come from the listing body or the maker's own spec pages (linked on every product), recall status from CPSC searches, and law summaries from official sources. Prices are set by Amazon and change often, so we don't print them. Where a figure isn't published, we say so. Read the full method.